Checking the brake fluid is a common maintenance task for your car. If you also notice any anomaly when pressing the brake pedal, such as a spongy sensation, it is easy for the problem to be that air has entered the system and needs to be purged.
Before you start bleeding your car’s braking system, it is important to confirm that this is the problem it is suffering from. Check the instruction manual to locate and observe the elements related to this problem.
The brake fluid level must be checked in its reservoir; if it has dropped or is below the recommended level, the system must be bled and the fluid refilled or changed so that everything works again with complete safety and precision. This is the first step; after that, you can purge, but first, you have to make sure that the liquid is at its optimal and clean point.
Change brake fluid
- Locate the brake fluid reservoir: it is located inside the hood, in the driver’s area, and aligned with the brake pedal. It is usually light in color and with a black cap, in the car manual you will find its exact location in your car.
- Check the level: If it is below the recommended mark, you have to refill it, but if it is very low and dirty, it is recommended that you change it completely and refill it with new fluid.
- Close the tank correctly: then press the brake pedal about 10 times so that the new fluid reaches the entire circuit, it is necessary before proceeding to bleed.
Bleed the brakes
Bleeding the brakes is delicate and expensive. It is not easy to do it alone; you need, at least, the help of another person and basic mechanical notions. Perhaps the quickest and easiest way is to entrust this work to your trusted mechanic or workshop.
- The car must be on a flat surface.
- Wheels locked.
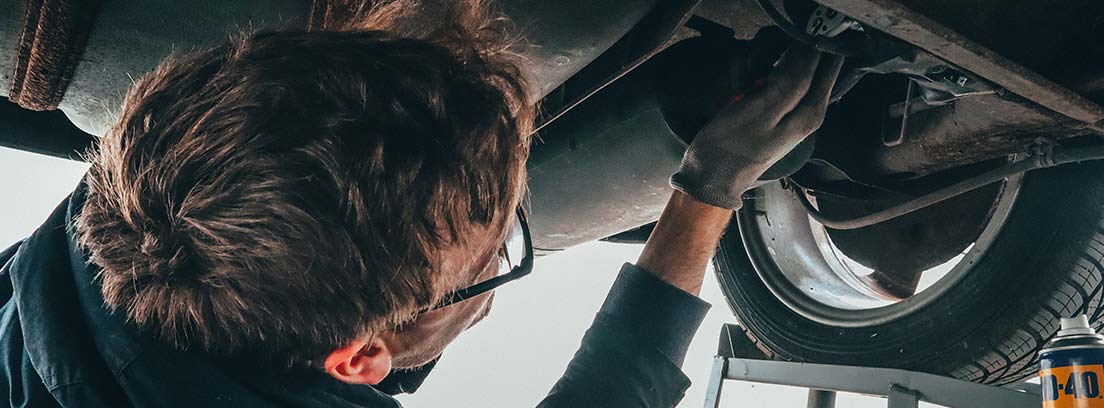
- If possible, you will do it more comfortably if you jack up the wheels, but check that everything is perfectly secure before working under the car.
- If you need help from another person, be careful and consult your car manual.
Step 1: Locate the purge valves
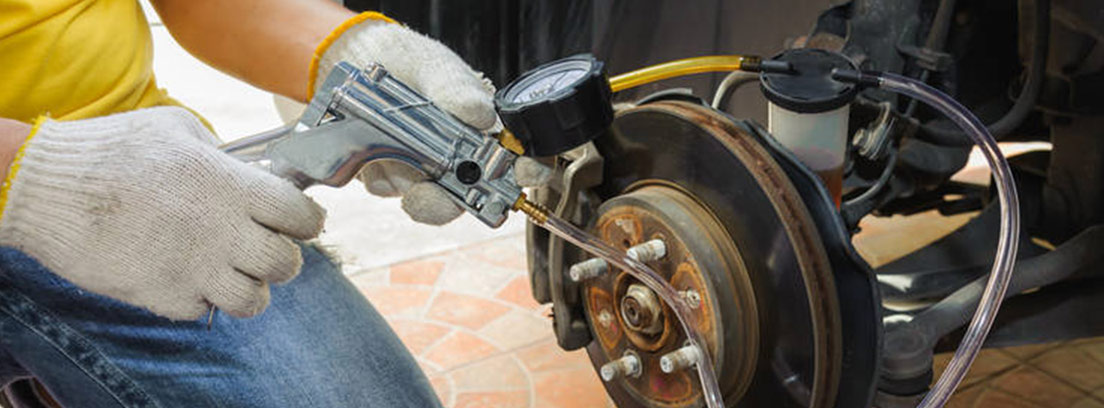
The easiest thing to do is look in your car’s instruction manual, but the cylinder bleeders are between the chassis and the rubber behind each wheel. It is a small screw that you must turn to release the air that has seeped into the system.
Step 2: Start purging
Unless your car manual says otherwise, you should start bleeding, first with the bleeder on the wheel furthest from the tank. Order is important for the work to work correctly.
Connect a plastic tube to the bleeder bolt to facilitate the release of air through that place to a bottle that you will place at the other end of the same tube with a couple of centimeters of brake fluid at the bottom. With the help of a star wrench, loosen the screw, while another person inside the car gently and repeatedly presses the brake pedal.

Step 3: Close and repeat the operation
Once air evacuation through the tube to the bottle ceases, completely and safely close the valve again. Observe the plastic tubing. Air exiting it will cause bubbles to form in the bottle’s liquid. Watch for these bubbles to stop forming and listen for silence – no more air escaping indicates the process is complete. Then, you can close the valve with confidence.
Repeat the same emptying operation for all the car wheels in their corresponding bleeder to ensure that the air in the entire system has been evacuated and does not interfere with the proper functioning of your braking system.
Step 4: Check the fluid level
When you have bled all four wheels, it is advisable to check the fluid level in the tank again to check that it is at its optimal point and if necessary, top it up again so that the braking system is in perfect condition.
The braking system must always be in perfect condition to avoid surprises on the road, while driving, the probability of suffering an accident is lower when you drive a car that has been inspected and in the best condition, and for this, having an insurance policy will give you the best possible roadside assistance.
Leave a Reply